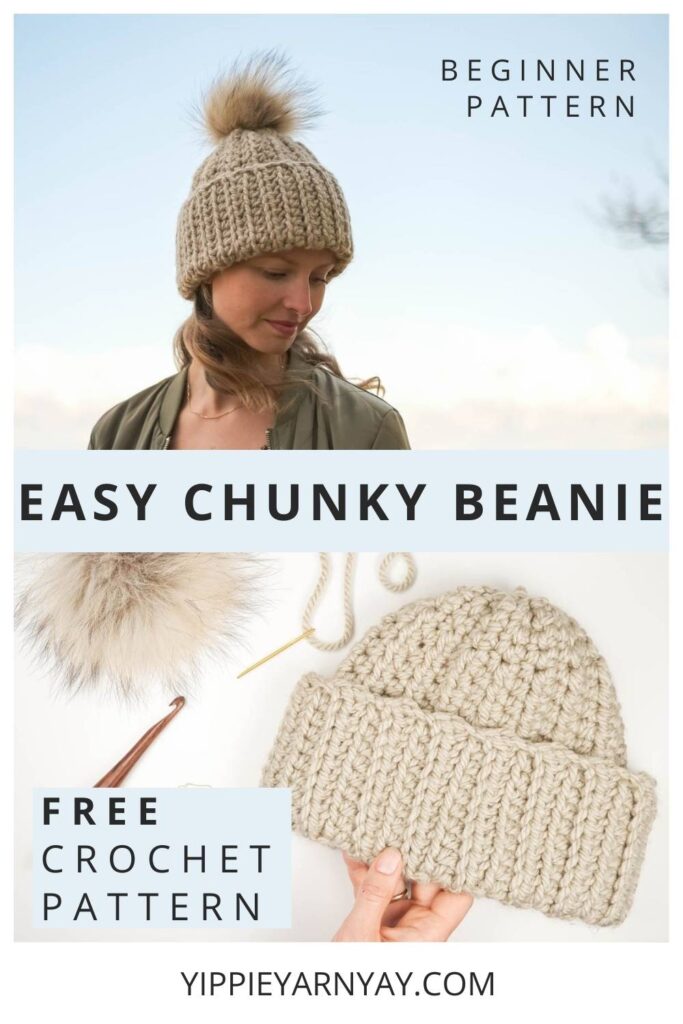
FREE PATTERN – Chunky Crochet Beanie for Beginners + Video Tutorial
Looking for a super easy and cozy chunky crochet beanie pattern? Then you have found it. This modern and beginner-friendly beanie is a must-have accessory in your fall/winter wardrobe. The crochet pattern includes 4 different sizes from Toddler to Adult.
Get the free pattern below or purchase the ad-free printable PDF on Etsy. You can also get both crochet pattern and yarn at Hobbii.com ☺️🧶
This site contains affiliate links. Please read full disclosure here.
JUMP TO CROCHET PATTERN INSTRUCTIONS 🧶
Here’s the easy crochet beanie pattern you have been waiting for:
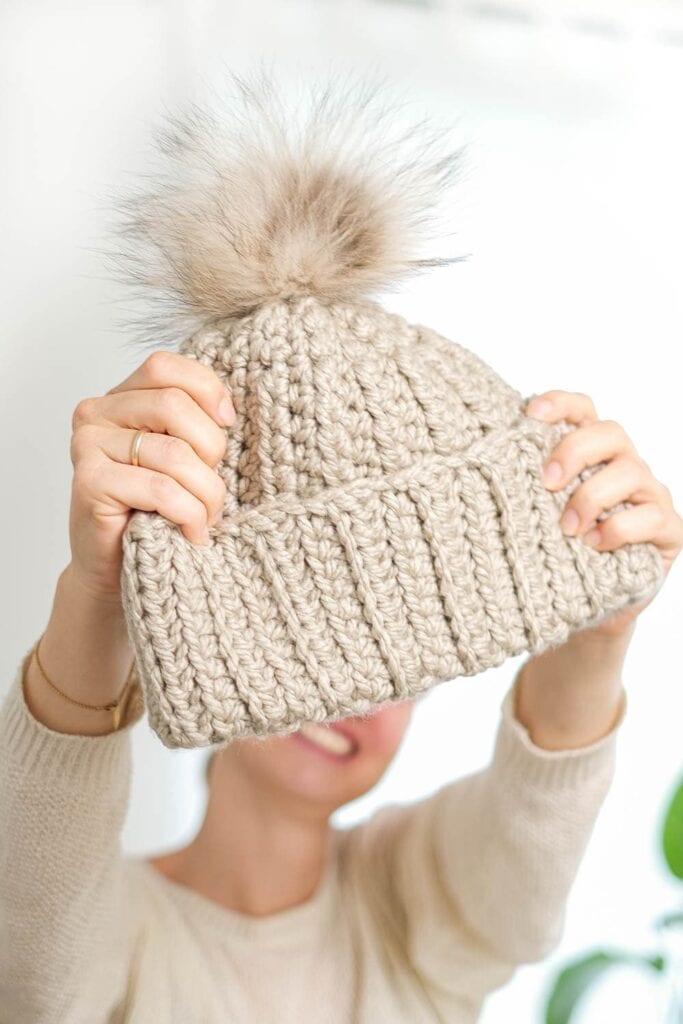
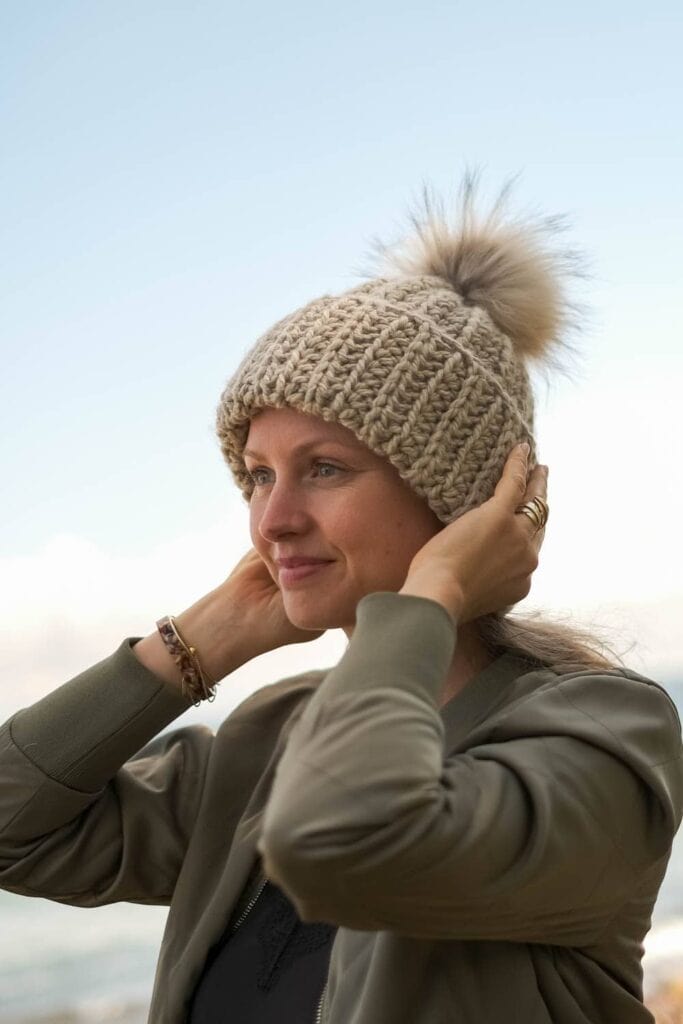
The Chunky Crochet Beanie pattern.
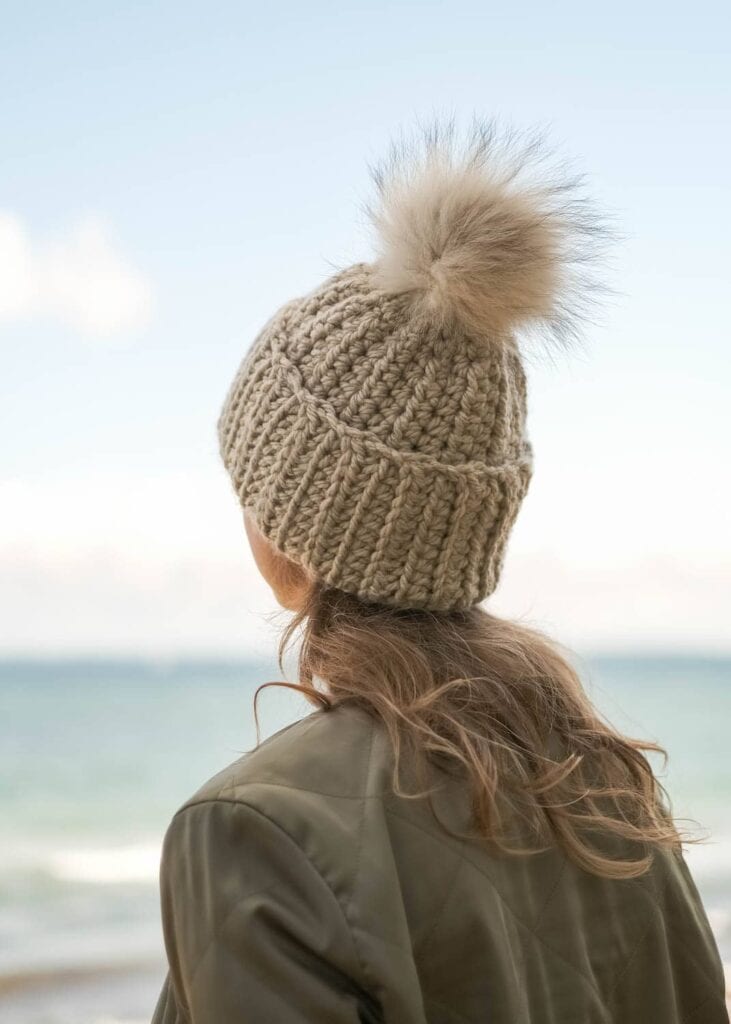
This super cozy and chunky beanie is a must-have accessory in your fall/winter wardrobe and will definitely keep you warm.
The Chunky Crochet Beanie works up quickly and is made from a simple 2-row repeat only using some of the most basic crochet stitches. The ribbing adds a modern twist to this very easy-to-make beanie.
In the free video tutorial below you’ll learn exactly how to make it.
So if you’re an advanced beginner this is your go-to crochet pattern to make a really modern, cozy & chunky crochet beanie.
PIN MED FOR LATER!
Inspiration for The Chunky Crochet Beanie
You have to have a beanie in your wardrobe for fall and winter, right?! And I only had two very basic ones. So I was definitely in need of at least one more 😉 I wanted to make a really super cool-looking yet easy crochet beanie. As you probably know, I love to make easy crochet patterns for beginners and this pattern should be no exception.
These were some of the thoughts I had before I started making this pattern. Another thing was that I wanted the beanie to have a wide ribbing. I wanted to experiment with textures too and the beanie should also have a super chunky look and be made using thick, warm yarn.
That’s how the crochet pattern for the Chunky Crochet Beanie came to life ☺️
It’s unisex and the pattern below contains information on how to make it in 4 different sizes: Toddler, Child, Teen and Adult. And depending on the color you choose it can be for both boys and girls, women and men – if you perhaps leave off the pom pom.
Get the free pattern below or purchase the ad-free printable PDF on Etsy. You can also get both crochet pattern and yarn at Hobbii.com 🧶☺️

Construction
The Chunky Crochet Beanie is worked in rows lengthwise. It is made in only one piece which is sewn together to form the beanie. It’s made from a simple and easy 2-row repeat.
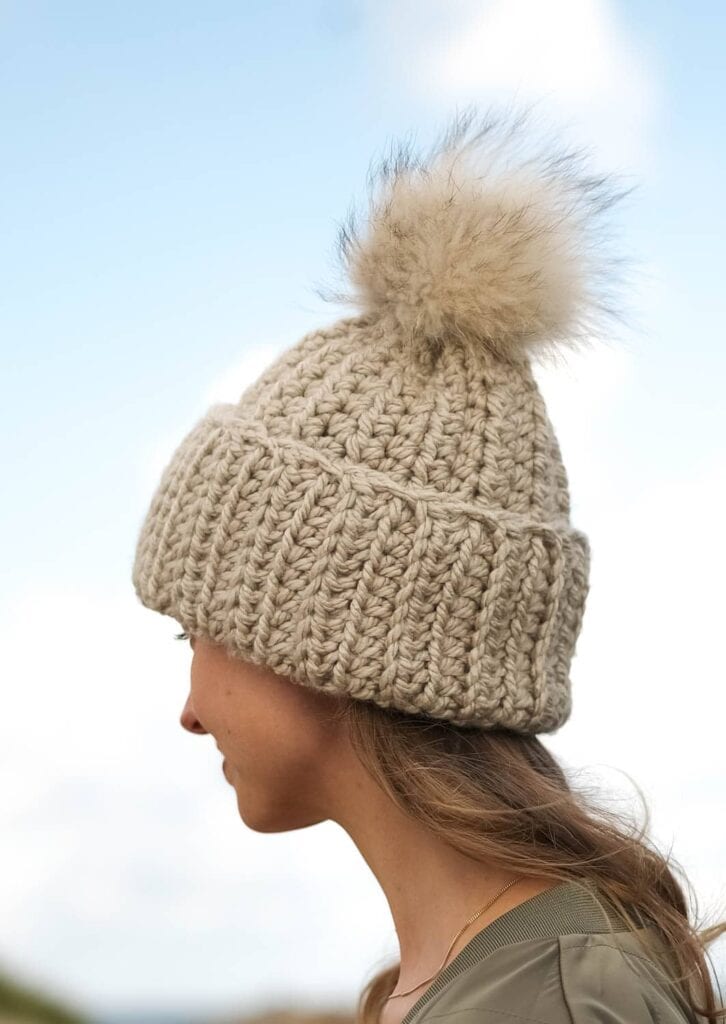
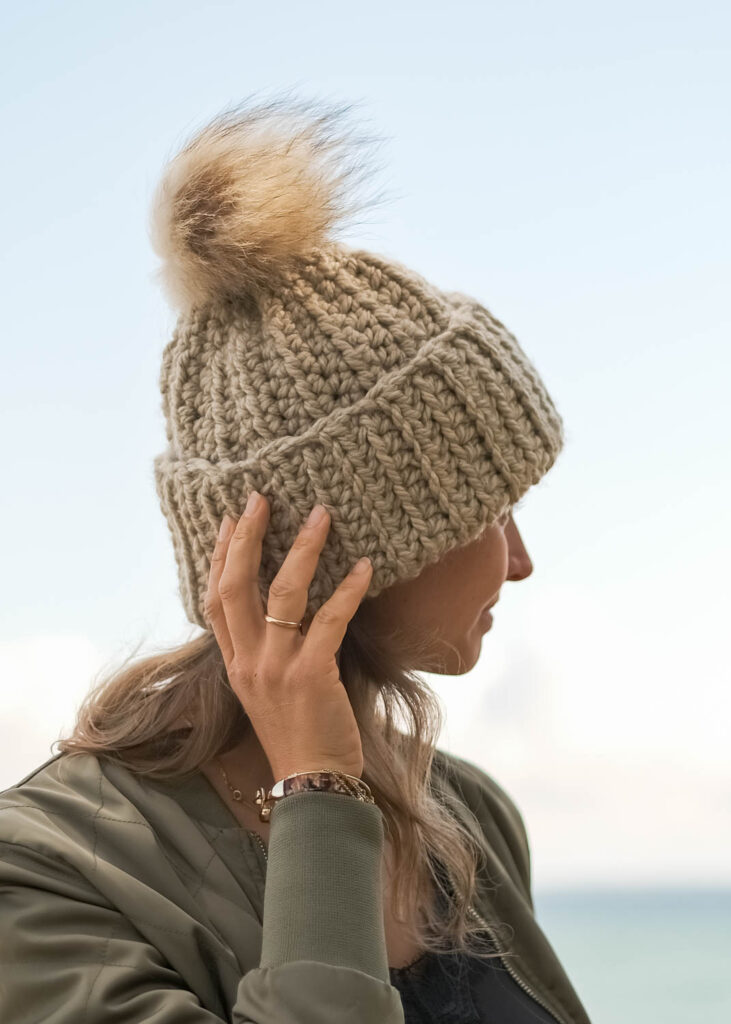
A part of the repetition will create the pretty textured ribbing you see in the pictures. That means that you don’t have to crochet a ribbing before or after you’ve made the beanie and then attach it. Really easy right 😊
The crochet pattern below includes in-depth written instructions which will guide you through exactly how to make your own beanie. You’ll also find really helpful video tutorials a little further down.
Before you start always measure your head. This way you are able to choose the best size for you as described below in the size guide. If you’re making the beanie for someone else it’s also a good idea to do the same. If it’s a present don’t do it though. It’s going to look pretty wired if you go around measuring other people’s heads and not telling them why 😁(Could be fun though)
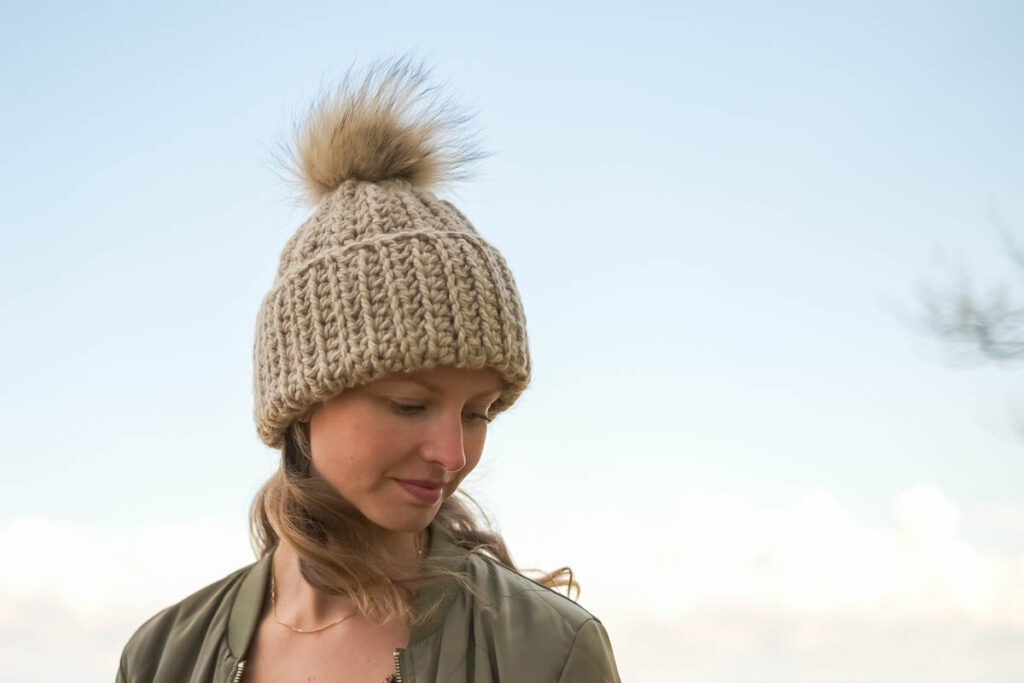
When you’re done making your beanie you can choose to add a yarn or faux fur pom pom it. It will create a super cozy and modern look. Or you can choose to leave off the pom pom to create a more minimal look.
What you need to know to make the Chunky Crochet Beanie
To make The Chunky Crochet Beanie you only need to know the following basic crochet stitches:
How to make a single crochet (UK double crochet) – watch this video tutorial on how to single crochet
How to make a half double crochet (UK half treble crochet) – watch this video tutorial on how to half double crochet
If you’re a beginner I recommend that you watch the video tutorials and test out the techniques before you start making The Chunky Crochet Beanie. Pause the videos, reverse and watch them again. Do this as many times as needed to feel comfortable with the techniques.
SKILL LEVEL
Beginner +
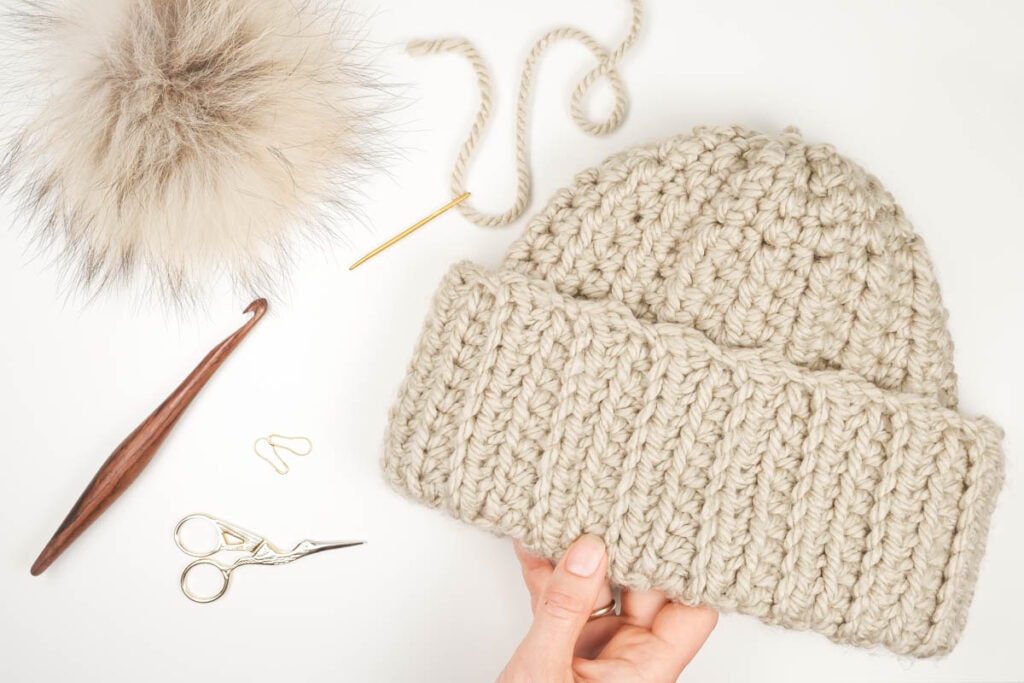
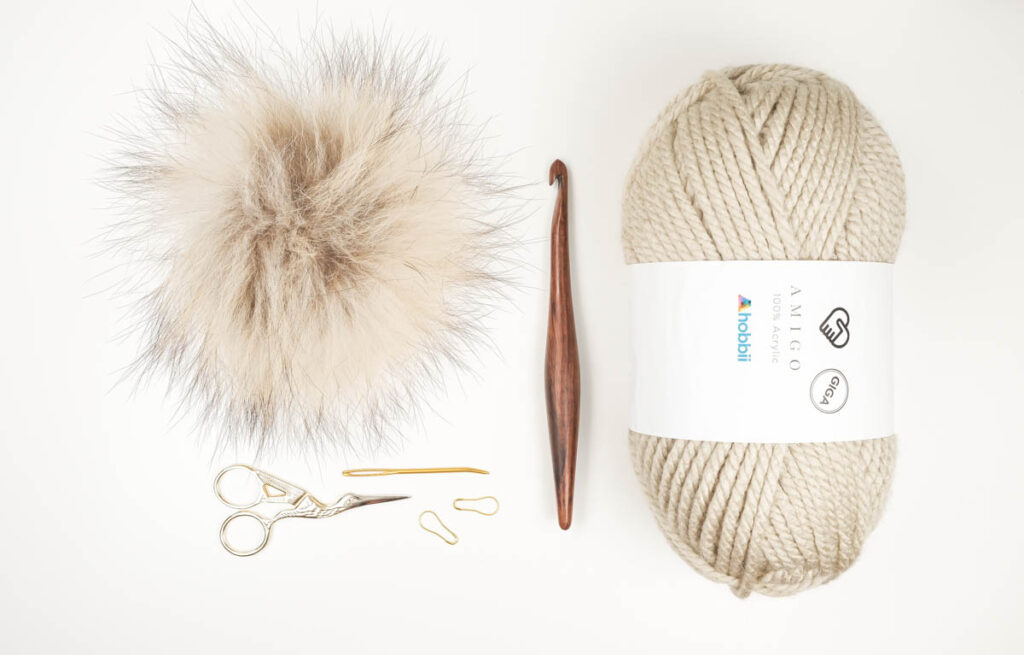
TOOLS
I’ve linked the ones I like to use right here:
Crochet hook 10 mm
Darning needle
Scissors
1 stitch marker
Yarn or faux fur pom pom, approx. 4’’ / 10 cm
YARN
Hobbii Tweed Delight
Yardage: 50 grams = 100 meters (109 yds)
Color code: Stone (03)
The Hobbii Tweed Delight is a lovely, soft woolen tweed yarn. It’s really easy to work with and the pretty tweed flecks make your beanie both beautiful and fun.
Materials:
Toddler: 1 skein
Child: 1,5 skeins
Teen: 2 skeins
Adult: 2 skeins
The model in the picture is wearing a size Teen.
ALTERNATIVES: Other Super Bulky / Super Chunky / 14 ply / 6-weight yarn, e.i. Hobbii Amigo Giga or Paintbox Yarns Wool Mix Super Chunky.
GAUGE
(This is an expression of how tight your work is)
4” / 10cm square = 10 stitches wide x 7 rows tall in half double crochet using hook size 9 mm
Always make a test before you begin. If the gauge does not match the specified crochet hook, try changing to a larger or smaller one so that you find the hook with which you can achieve the specified gauge.
SIZE GUIDE
Always choose the size that matches your head circumference the best. E.g. If your head circumference is 21’’ choose the size Small Adult. If your head circumference is 20 2/3’’ choose the size Child.
Please feel free to choose any finish size – even if the size name doesn’t match the age of the person you’re making the beanie for.
Sizes in inches:
Toddler: Fits 19’’ head – 7’’ tall
Child: Fits 20’’ head – 7 1/2’’ tall
Teen: Fits 21 1/2’’ head – 8’’ tall (can be used for teens)
Adult: Fits 23’’ head – 8 1/2’’ tall
Sizes in cm:
Toddler: Fits 48 cm head – 18 cm tall
Child: Fits 51 cm head – 19 cm tall
Teen: Fits 54,5 cm head – 29 cm tall (can be used for teens)
Adult: Fits 58 cm head – 31,5 cm tall
PATTERN NOTES
Stitch counts for the different sizes are written in the order:
Toddler (Child, Teen, Adult Large)
At the end of each row you can see the total number of stitches for each size as follows:
[ 21 (24, 27, 28) ]
When you start in 3rd chain from the hook on row 1 these chains will count as 1 hdc.
When you start in 4th chain from the hook on row 3 these chains will count as 1 hdc.
Always read the pattern thoroughly. You will find an explanation of all abbreviations below, both US and UK terms. The pattern uses US terms.
ABBREVIATIONS
st(s): stitch(es)
ch: chain
sc: single crochet (UK double crochet)
hdc: half double crochet (UK half treble crochet)
blo: crochet in the back loop only
flo: crochet in the front loop only
SHARE YOUR PROJECTS
I love to see your finished projects and WIPs! Use #thechunkycrochetbeanie #yippieyarnyay and tag @yippieyarnyay on social media to show off your work and your process while you’re crocheting.
Let’s move on to the pattern 😊
PATTERN INSTRUCTIONS FOR
THE CHUNKY CROCHET BEANIE
The beanie
Use hook 9 mm. Ch 22 (25, 28, 29). Work in rows.
Row 1: Start in 3rd ch from hook (this counts as a hdc), 1 hdc in each of the next 16 (19, 22, 23) sts, 1 sc in each of the last 4 sts (for all sizes), ch 1, turn [ 21 (24, 27, 28) ]
Row 2: 1 sc in each of the first 4 sts (for all sizes), 1 hdc in each of the next 10 (11, 13, 14) sts, 1 hdc in flo in each of the next 7 (9, 10, 10) sts, ch 2, turn [ 21 (24, 27, 28) ]
Row 3: Start in 4th ch from hook (this counts as a hdc), 1 hdc in blo in each of the next 6 (8, 9, 9) sts, 1 hdc in each of the next 10 (11, 13, 14) sts, 1 sc in each of the last 4 sts (for all sizes), ch 1, turn [ 21 (24, 27, 28) ]
Repeat row 2 and 3: 25 (27, 28, 29) times
You now have the following number of rows for the size:
Toddler: 28
Child: 30
Tenn: 31 rows
Adult: 32 rows
Break yarn and leave a tail, approx. 59’’ / 150 cm, for sewing the beanie together.
Use a stitch marker to mark the side where you can see the texture of the hdc blo and flo. These stitches will create the look of the ribbing of your Chunky Crochet Beanie.
Now follow the instructions below to sew your beanie together.
Sewing the beanie together
Thread a darning needle using the long tail you left on the last row. Fold the beanie so the stitch marker you just placed is on the inside. Now sew it together with whip stitch.
Fasten off and weave in ends.
Fold the ribbing inside out. Now the hdc blo and flo are visible and create the nice ribbing look.
Closing the top
Now you’re going to close off the top.
Thread the darning needle with a leftover piece of the yarn, approx. 8 inch / 20 cm.
Weave the yarn through the rows on the top of the beanie. Pull the yarn to close the top and tighten it as much as possible. Sew up any remaining opening of the top of the beanie.
If you choose to attach a Pom Pom to your beanie follow the instructions below.
Attaching pom pom
Now sew a yarn or faux fur pom pom to the beanie.
The pom pom in the pictures measures approx. 4’’ / 10 cm and is sewn on a size Teen. Use the same size pom pom for size Child and Adult. For size Toddler use a pom pom measuring approx. 3’’ / 8 cm.
Now you’re all done with your very own Chunky Crochet Beanie ❄️
Well done!
Did you enjoy making it? Leave a comment below and let me know how it went.
xx Sharlene 😊
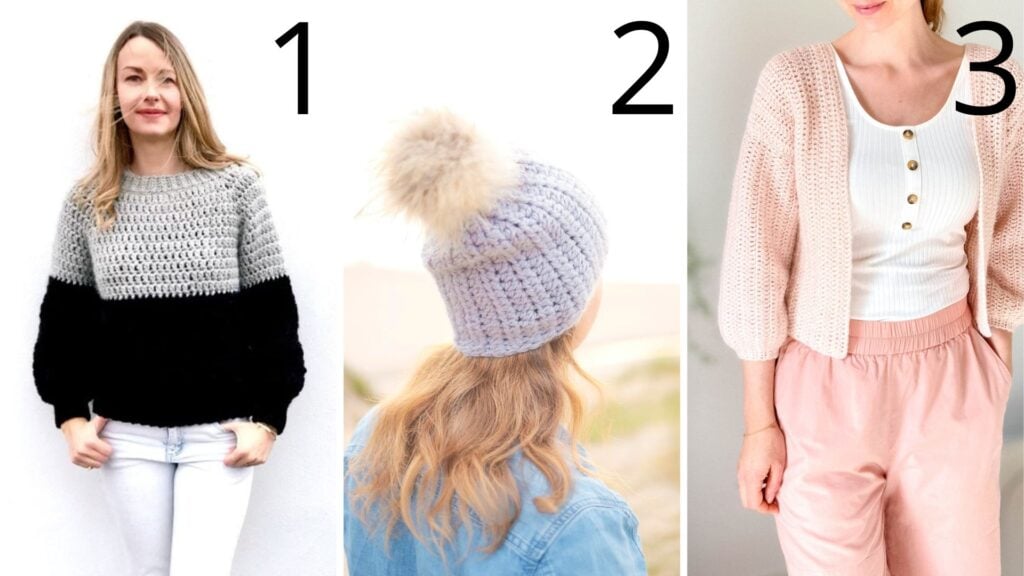
READY FOR YOUR NEXT CROCHET PROJECT?
Then check out these beginner crochet patterns. They are all super easy to make.
1. The Chunky Balloon Sweater // 2. The Super Easy Crochet Beanie // 3. The Everyday Easy Crochet Cardigan
Follow me:
Sharing is caring: